
Relearning MSX #7: Setting up the MSX-C environment (part 3)
Posted by Javi Lavandeira in MSX, Retro, Technology | January 02, 2015At the end of the previous chapter we had a working MSX-DOS2 installation. Those of you using openMSX now have a setup like this:
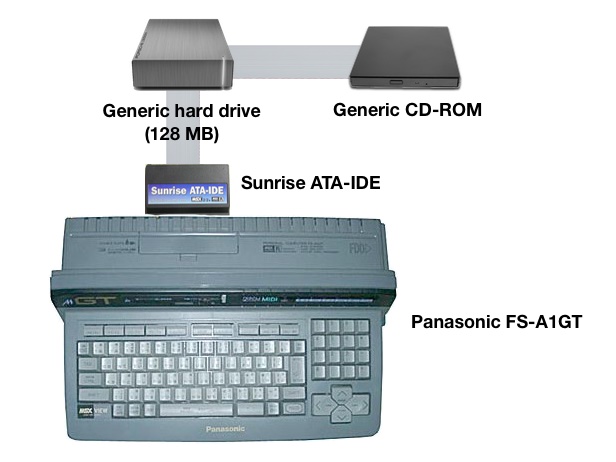
Current MSX setup under openMSX
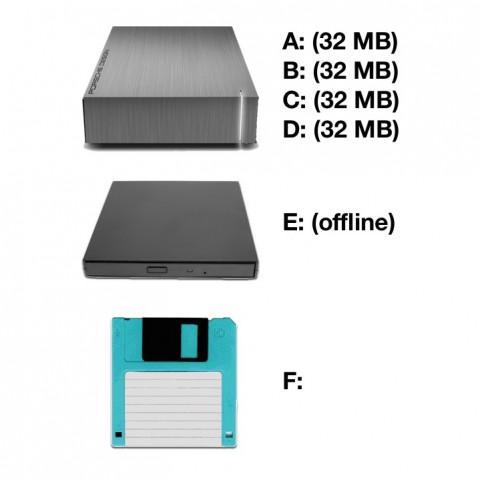
Disk drive names under openMSX
From this point on, the explanations in these series will work the same on an emulator and on a real MSX computer, unless I explicitly point out the differences. One of the things that you’ll have to pay attention to if you’re using your MSX are the drive letters. They may be different in your machine.
Let’s dive in.
What’s MSX-DOS2 TOOLS?
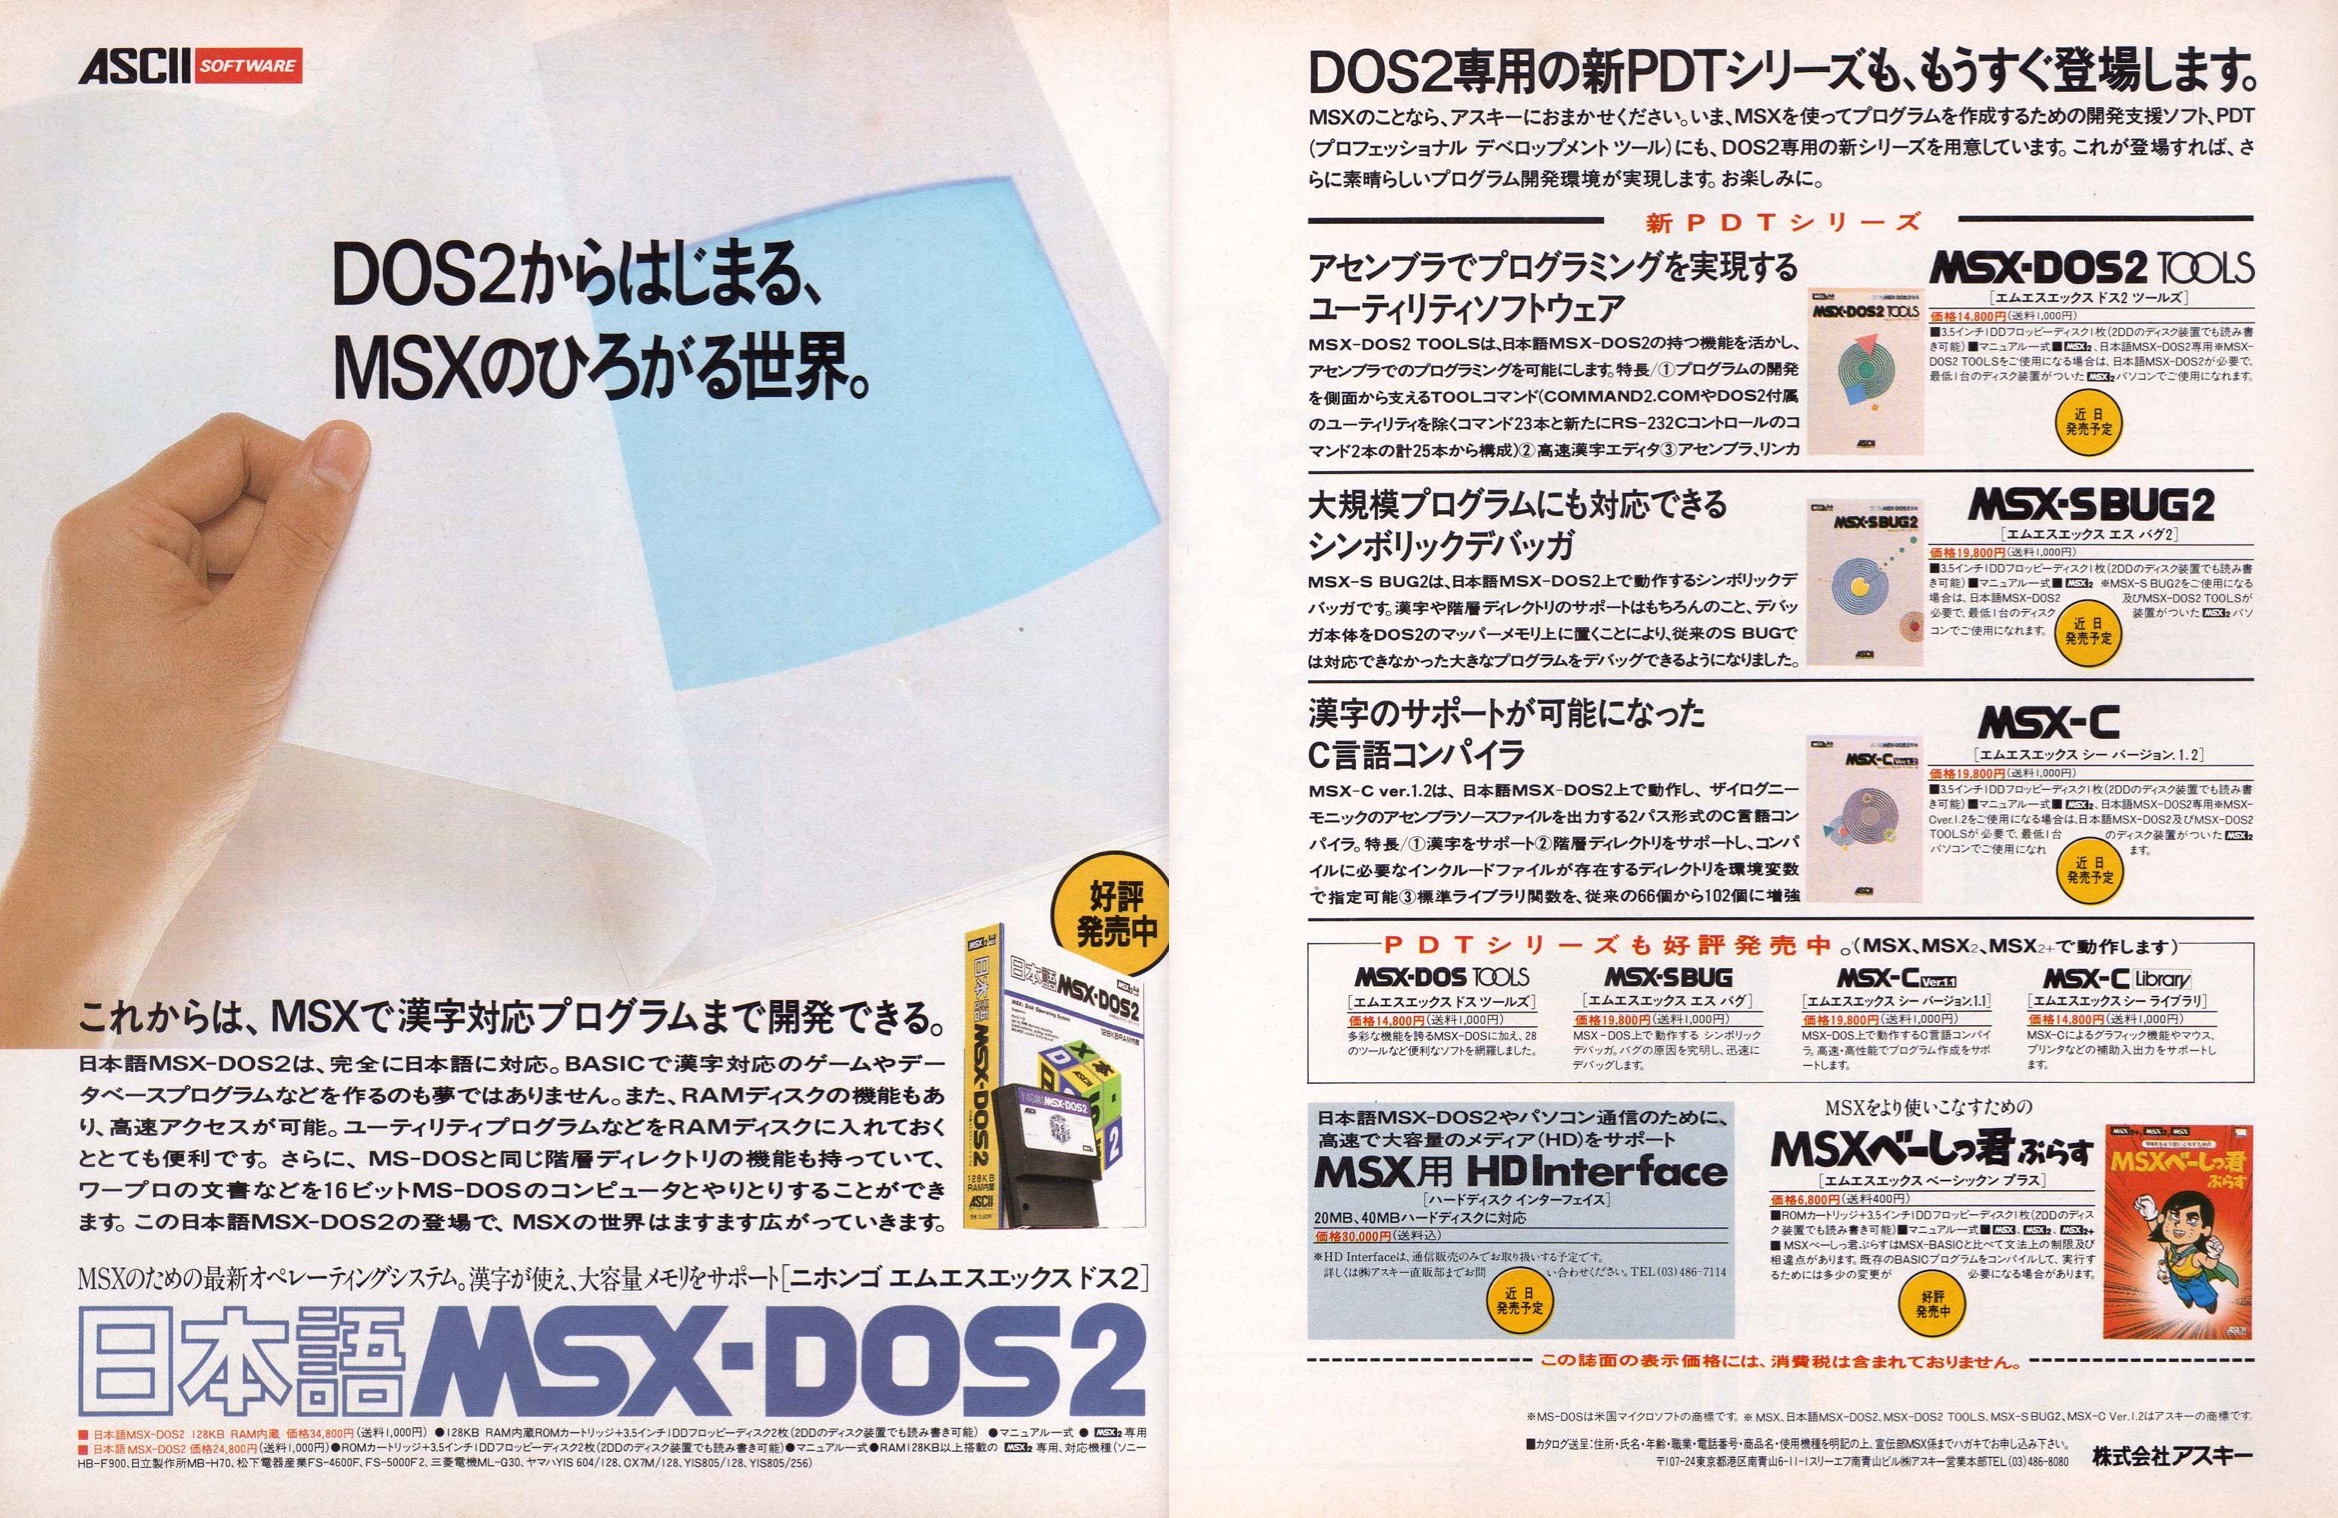
MSX-DOS2 ad with MSX-DOS2 TOOLS. MSX Magazine (July 1989). Click to enlarge
First of all, download the disk image from The MSX Archive:
MSXDOS2T.DSK (360 KB)
So, what is MSX-DOS2 TOOLS? Why do we need this package? MSX-DOS2 TOOLS is, mostly, a set of tools for software developers. It comes with a bunch of external commands for handling text (many of these come from UNIX), plus some miscellaneous utilities. Much more importantly, it comes with a couple of text editors (KID/AKID) and an updated MSX port of the M80/L80 assembler suite by Microsoft.
The reason why we need it is that MSX-C requires the M80/L80 suite to assemble compiled programs into binaries that can run under MSX-DOS2.
What’s in the disk?
If you’re using an MSX then write the disk image to a floppy disk. If you’re using an emulator then put the image as it is in the emulated computer’s floppy drive.
Apart from the MSX-DOS2 files, the disk contains three directories: KIDS, TOOLS and UTILITY.
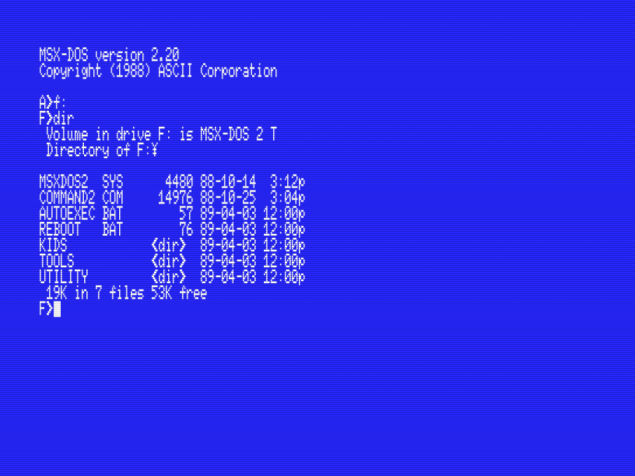
Directories in the MSX-DOS2 TOOLS disk
- KIDS: Contains two text editors (KID and AKID), plus an application to configure them (CONKID).
- TOOLS: Contains lots of miscellaneous tools / external commands for MSX-DOS2. UNIX users will already be familiar with a bunch of these: CAL, GREP, HEAD, LS, MORE, SORT, TAIL, TR, UNIQ, VIEW and WC. They do exactly what you expect. If you have no idea regarding what I’m talking about then don’t worry. I’ll explain these in a future post.
- UTILITY: Contains the M80/L80/LIB80/CREF80 programs. These are all applications to assemble and programs and maintain libraries of assembled pieces of code (relocatable libraries). I’ll explain these in another post.

The whole contents of the MSX-DOS2 TOOLS disk
Installation
The installation process is trivial. Just copy everything to the UTILS directory in the A: drive. Run these commands under MSX-DOS2 to do just that:
COPY F:¥KIDS¥*.* A:¥UTILS
COPY F:¥TOOLS¥*.* A:¥UTILS
COPY F:¥UTILITY¥*.* A:¥UTILS
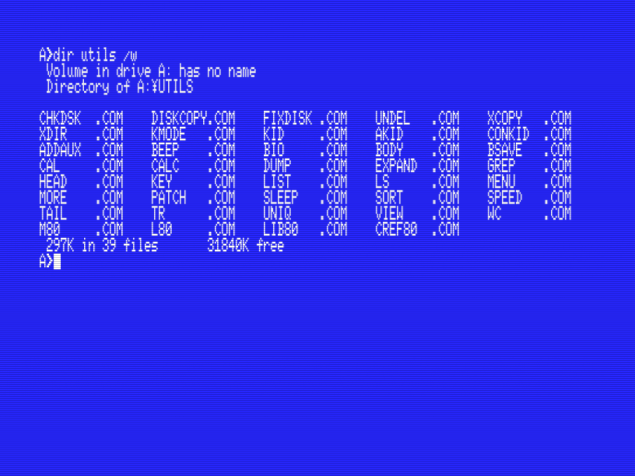
And that’s it! MSX-DOS2 TOOLS is now installed. After copying these you should have the following programs in the A:\UTILS directory:
Quick intro to the KID/AKID text editors
These are two very decent text editors for MSX2 and higher. What makes them good for programmers is that they store the edited file in the computer’s video RAM and therefore can work with really big files . KID can handle files of up to around 60 KB, and AKID up to 110 KB.
The most important difference between them is that KID is intended to edit files that contain Japanese text, while AKID only supports ASCII text. Because of this, KID runs in a graphics mode and is slower when the text on the screen scrolls up and down. KID’s menus are all in Japanese, and AKID’s are in English.
Which one to use? Easy: if you’re going to use Japanese text, use KID. Otherwise, use AKID. AKID will display garbled characters if you open a Japanese file with it:
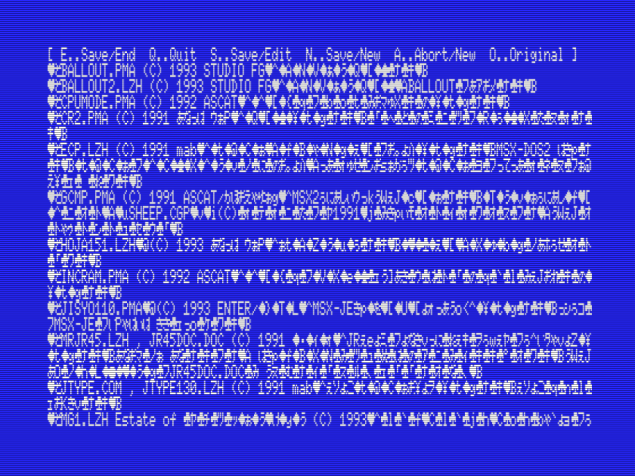
File containing Japanese text under AKID
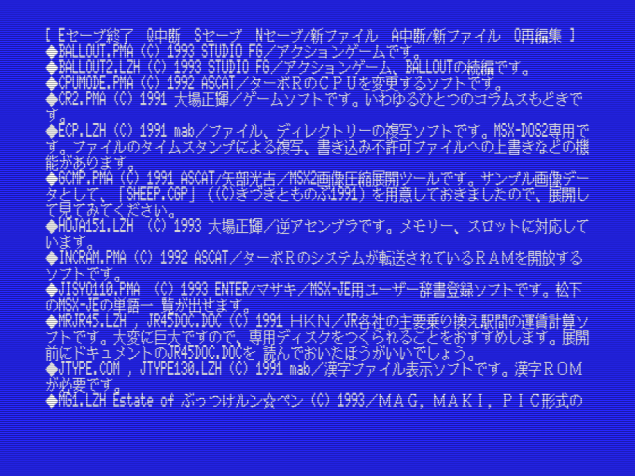
The same file, opened in KID
In the next post…
That’s all for this post. This was an easy one, wasn’t it?
In the next one we’ll install MSX-C v1.2 (finally!). We’ll compile a short program, and then I’ll write more detailed instructions on using these text editors and the other tools.
This series of articles is supported by your donations. If you’re willing and able to donate, please visit the link below to register a small pledge. Every little amount helps.
Javi Lavandeira’s Patreon page
He ensopegat amb els teus tutorials avui i m’estan encantant, ja ho tinc tot configurat i a l’espera de noves passes!
“I found your tutorials and I’m enjoying them a lot! I have it all configured and waiting for next steps!”